Tools Panels
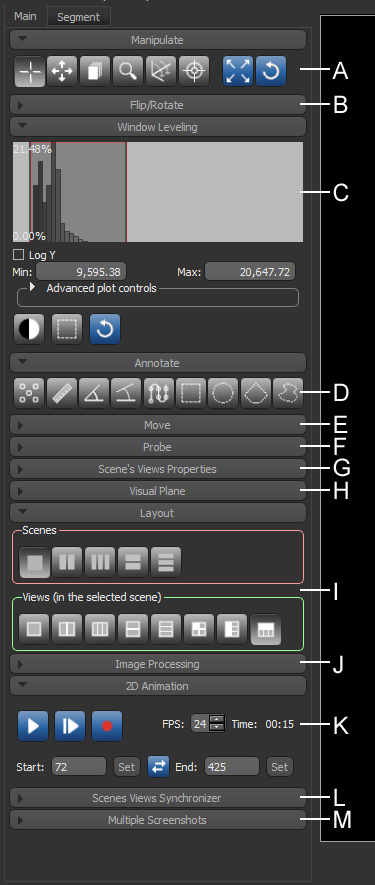
The panels on the Main tab provide tools for choosing scene layouts and views properties, improving visualizations, making basic measurements, and other operations. These panels are arranged by default as shown below. However, you can rearrange the tool panels, as well as move them to the top of the workspace (see Customizing the Workspace for information about creating a custom workspace).
Tools panels
Refer to the topic Segment Tools for information about the tools available on the Segment tab.
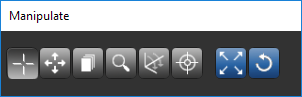
The Manipulate panel provides a number of basic tools, such as Track, Pan, Cine, and Zoom (see Using the Manipulate Tools), for working in 2D and 3D views.
Items in the Flip/Rotate panel allow you to flip views horizontally or vertically. You can also rotate views 90-degrees clockwise and counter-clockwise or by a specified amount (see Using the Flip and Rotate Tools).

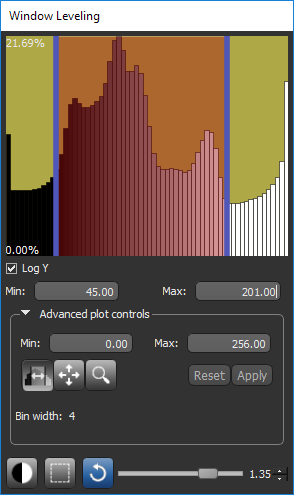
Window leveling offers the opportunity of changing density relationships (brightness and contrast) within images to obtain the most useful information (see Window Leveling).
Provides a set of tools that you can use to make basic measurements on 2D views. You can measure straight lines and angles with the Ruler and Angle tools, or use the Region tools to automatically compute the perimeter and area of a selected portion of a 2D image.
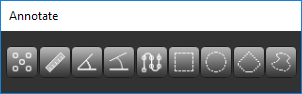
See Adding Annotations for information about creating rulers, angles, regions, and other annotations.
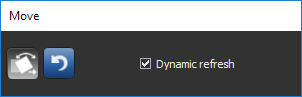
If required, you can translate and rotate the currently selected object or objects in a scene with the tools available in the Move panel (see Using the Move Tools).
You can view the native value and coordinates of the voxel under the mouse cursor in the Probe panel (see Using the Probe Tool).
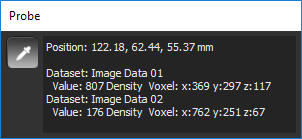
Multiple values will be displayed for images that are in Fusion mode.
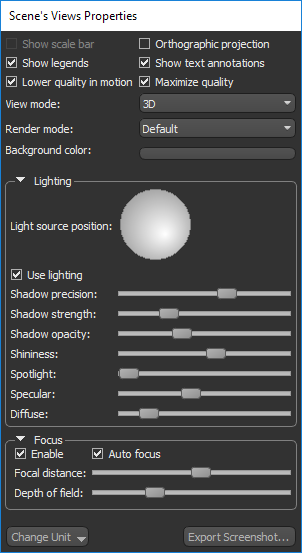
A number of options are available in the Scene's Views Properties panel for modifying the properties of the 2D and 3D views in a scene (see 2D Scene's Views Properties and 3D Scene's View Properties).
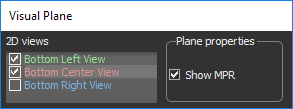
You can add up to three visual planes to a 3D view to clip a objects along an arbitrary plane or planes (see Working with Visual Planes).
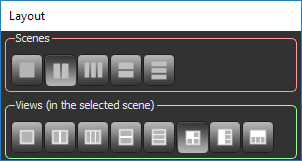
The layout of the scenes in the workspace, as well as the layout of views in each scene, can be selected in the Layout panel (see Scene Layouts and Views).
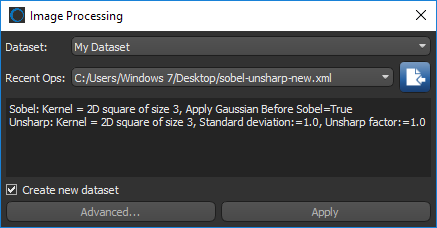
To help accelerate repetitive post-processing tasks, you can import a saved image filtering workflow and then apply that operation to selected image data in the Image Processing panel (see Applying Saved Operations).
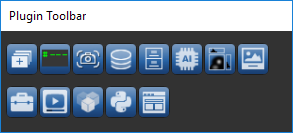
Lets you quickly access any of the available Dragonfly plugins — such as the Organizer, Deep Learning, Image Processing, Active Contour modules, as well as the Infinite Toolbox.
|
|
Description |
|---|---|
|
|
Opens the Create a Dataset dialog, in which you can create artificial datasets (see Creating Datasets). |
|
|
Opens the Action Log Viewer, which lets you view and track which areas of the software have been accessed and which actions have been performed using the interface (see Action Log Viewer). |
|
|
Opens the Camera Position Helper dialog, which lets you save and apply camera positions in 3D views. |
|
|
Opens the Active Contour panel, which can help you to quickly and efficiently complete segmentation tasks (see Working with Active Contours). |
|
|
Opens the Organizer, which provides an easy way to organize, manage, save, and share your data (see Using the Organizer). |
|
|
Opens the Deep Learning Tool, which lets you create, edit, and train deep learning models for image processing and segmentation tasks. |
|
|
Opens the Histographic Segmentation dialog, in which you can quickly segment a dataset by selecting clustered data values (see Histographic Segmentation). |
|
|
Opens the Image Processing contextual window, which provides an environment for applying standard image filters, deep learning models, and arithmetic operations to image data (see Image Processing). |
|
|
Opens the Infinite Toolbox, an open exchange platform for the Dragonfly user community that lets you browse for and download extensions that implement new features and workflows for your image processing and analysis needs (see Infinite Toolbox). |
|
|
Opens the Macro Player, in which you can record and play macros (see About the Macro Player). |
|
|
Opens the Opacity Settings dialog, in which you can adjust the opacity of objects in the currently selected view. |
|
|
Opens the Python Console, which provides a quick way to execute commands and explore possibilities that can be pasted into larger scripts (see Python Console). |
|
|
Opens the Segmentation Trainer, which is an advanced machine learning plug-in for image segmentation (see Segmentation Trainer). |
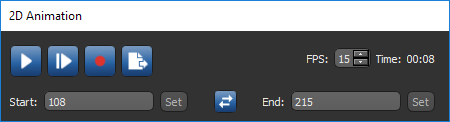
In the 2D Animation panel, shown below, you can play and record animations that automatically scroll through all image slices, or a selected range, in a volumetric dataset (see Working with 2D Animations).
The options on the Scenes Views Synchronizer panel let you automatically synchronize the zoom factor, position, and window leveling between the 2D or 3D views in multiple scenes in the workspace (see Synchronizing Scenes Views).

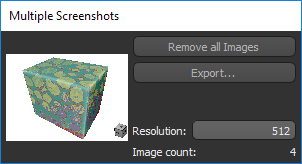
The option to accumulate and then export multiple screenshots is available in the Multiple Screenshots panel (see Exporting Multiple Screenshots).
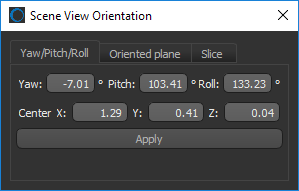
Options in the Scene View Orientation panel, shown below, let you view and adjust the angle of rotation of a selected 2D view or to adjust the position of the camera in a 3D view (see Scene View Orientation).
Shapes are pre-defined geometrical forms to which 3D effects — such as clipping, window leveling, and edge enhancement — can be applied to selected objects, such as volumetric image data, regions of interest, multi-ROIs, and meshes (see Working with Shapes).

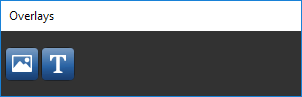
Image and text overlays, which are available in the Overlays panel, can be added to 2D and 3D scene views to illustrate findings with text, graphs, and screen captures (see Overlays).